Superior bond strength and excellent color matching for Granite, Quartz, Porcelain, and Solid Surfaces (Acrylic Adhesive)
Order Online
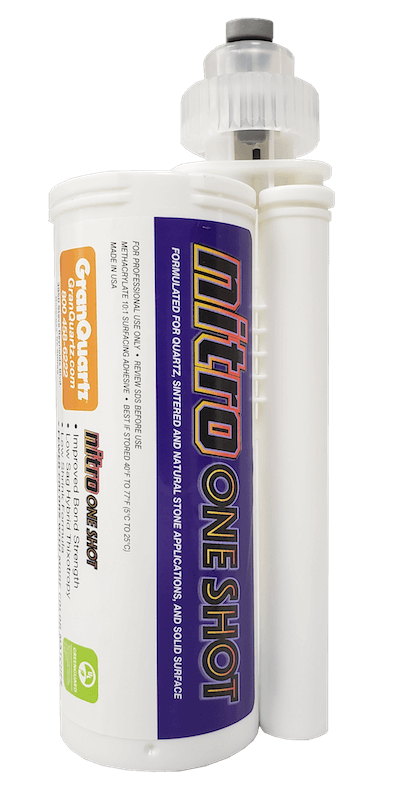
Nitro One Shot was developed for fabricators who demand a product with superior bond strength and excellent color matching suitable for use on surfaces including:
- Quartz
- Natural Stone (Granite, Marble, Limestone)
- Ultra-Compact Surface (UCS)
- Porcelain
- Solid Surfaces
Nitro One Shot from GranQuartz makes choosing the right adhesive for your needs easy. Simply visit our reference guide, select the manufacturer and color name and you will see the glue that works best for that match.
Nitro One Shot Adhesives provide the perfect solution to seaming and simple, accurate color matching fabrication uses.
- Laminating / Seaming / V-Groove systems
- Automating Adhesive Application
- Working requiring the strength of epoxy, the speed and color stability of acrylic
- Reducing waste, eliminating hand mixing and tinting
- Creating invisible seams and laminations
- Polishing to match the gloss of surrounding material
Nitro is an adhesive solution designed with the demands of the fabricator in mind. Features & Benefits:
- Color Selector cross-reference charts available for all major brands.
- Standard formulations which develop handling strength in as little as 20 minutes.
Nitro One Shot adhesives help to reduce labor costs by eliminating time consuming hand mixing of precise colors while producing strong bonds, fast curing, and virtually invisible seams.
Seaming Stone and Quartz with Nitro One Shot Adhesive
Seam Preparation
- Clean seam with Acetone or Alcohol to remove dust from the seam. (Joint must be clean and dry for best results).
- Apply masking tape on each side of the seam, back about 1/16 inch from the joint. (Build up 2 to 3 layers of tape).
Application
- Attach mixing tip to cartridge and dispenser. (refer to individual cartridge instructions)
- Discard the first 5-10 ml to ensure Activator is present in mix.
- Apply a bead to the surfaces to be glued together. Clamp the surfaces together and make sure you leave some excess adhesive in the joint. A gap of 1 mm or more is ideal and will provide improved flexural and impact strength.
- After the joint is clamped together, wipe off excess adhesive with a razor blade or squeegee using the masking tape as a gauge to slightly over fill the seam. Work the adhesive back and forth over the masking tape to make sure the joint and any chips are filled.
- Remove tape as soon as possible
- The curing time for the adhesive is approximately 10 to 15 minutes at normal room temperature. After the bead has cured (approx 30+ minutes) it can be scraped flush with a razor blade. Scraping the joint before it has cured will increase the effect of shrinkage in the joint and may leave the seam lower than the surrounding surface.
- If you want to enhance the color and slightly smooth the joint, apply an abrasive polishing company (by hand or with a rotary polisher) after scraping the adhesive. Top coating is not required.
Refer to MSDS for safety and handling information.
WARNING: Always wear disposable gloves and eye protection when working with adhesives or polishing compounds.